



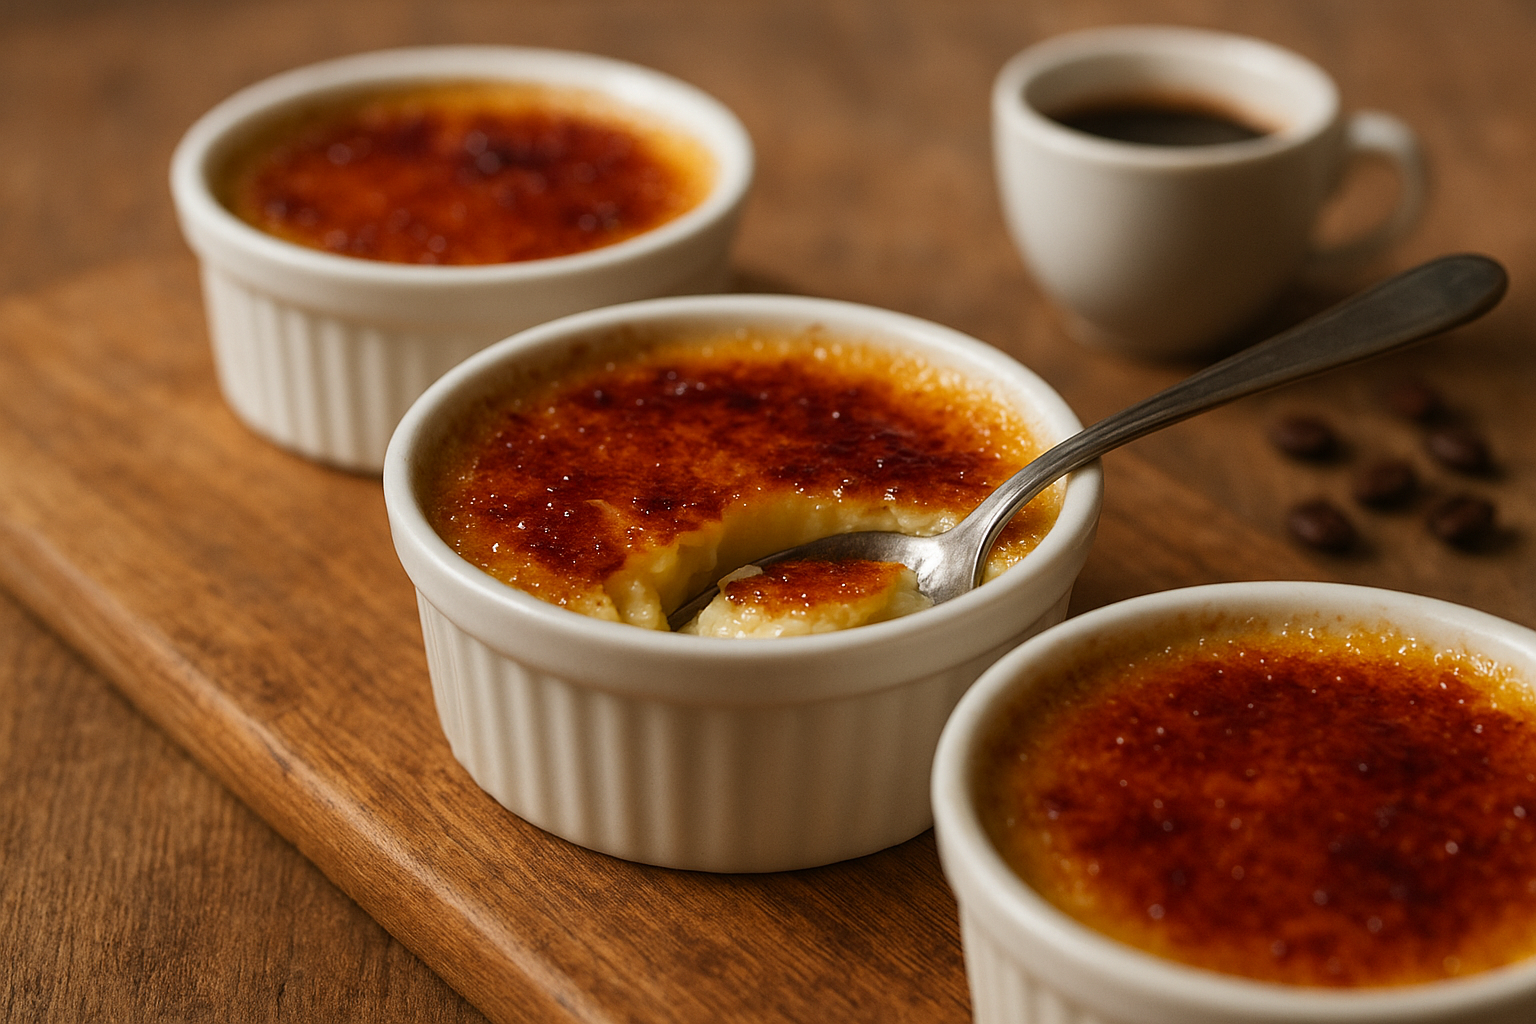
Mini Espresso Crème Brûlée — espresso creme brulee
Silky, coffee-infused custard finished with a glassy caramelized top — mini espresso crème brûlée is an elegant, make-ahead dessert that’s perfect for dinner parties.

Recipe: Mini Espresso Crème Brûlée (espresso creme brulee)
Ingredients
- 1 1/2 cups (360 ml) heavy cream
- 1–2 tsp instant espresso (or 2 tbsp very strong brewed espresso)
- 1 tsp pure vanilla extract
- Pinch of fine salt
- 5 large egg yolks
- 1/3 cup (65 g) granulated sugar, plus extra for caramelizing (turbinado or caster sugar works well)
Equipment
- 6 mini ramekins (4 oz / 120 ml each)
- Large roasting pan or baking dish for water bath
- Fine-mesh sieve
- Kitchen torch or broiler (or a cast-iron skillet method as torch substitute)
- Whisk, saucepan, mixing bowls
Instructions
- Preheat oven to 300°F (150°C). Place ramekins in a large baking dish so they sit level.
- In a medium saucepan, warm the heavy cream with the instant espresso (or brewed espresso) and vanilla over medium heat until steaming and small bubbles form at the edges — do not boil. Remove from heat and let steep 5 minutes to infuse.
- In a bowl, whisk the egg yolks with 1/3 cup sugar and a pinch of salt until smooth and slightly pale.
- Tempering: slowly pour about 1/3 of the warm cream into the yolk mixture while whisking continuously. Continue pouring in the remaining cream in a steady stream, whisking, to avoid cooking the yolks.
- Strain the custard through a fine-mesh sieve into a pouring jug to remove any coagulated bits and any undissolved espresso granules.
- Divide the custard evenly among the mini ramekins. Pour hot (not boiling) water into the baking dish until it reaches halfway up the sides of the ramekins to create a bain-marie.
- Bake at 300°F (150°C) for 25–35 minutes for 4-oz ramekins, until the edges are set and the center still slightly jiggles. (See FAQ for timing by size.)
- Carefully remove ramekins from the water bath and cool to room temperature. Cover and chill thoroughly for at least 3 hours, preferably overnight — full chilling gives a clean caramel crack.
- When ready to serve, sprinkle a thin, even layer of turbinado or caster sugar over each custard. Use a kitchen torch to caramelize the sugar to a deep amber. Alternatively, place ramekins under a hot broiler for 1–2 minutes, watching closely, or use the skillet torch-substitute method in the tips below.
- Let the caramel harden for a minute, then serve immediately with suggested garnishes.
- Instant espresso gives concentrated coffee flavor without adding liquid; if using brewed espresso, reduce other liquid slightly or use very strong brew.
- Do not let the cream boil — overheating can cause grainy custard or curdled yolks.
- Chill fully (3–12 hours) for the best texture and a clean crack when you torch the sugar.
- Shorten baking time for mini ramekins: 4-oz = 25–35 min; 6-oz = 30–40 min; standard 8-oz = 35–45 min. Times vary by oven.
Nutrition estimate (per mini ramekin)
Approximate: 230 kcal | Fat 19g | Carbs 14g | Protein 4g
Serving ideas
- Garnish with 2–3 espresso beans or a light dusting of cocoa powder for contrast.
- Serve with a dollop of lightly sweetened whipped cream or a crisp biscotti.
- Pair with a shot of espresso or a sweet dessert wine like Moscato or Vin Santo.
FAQ
Can I use brewed coffee instead of espresso?
Yes — use very strong brewed espresso or concentrate. If using brewed coffee, reduce the added liquid (use less cream or a more concentrated brew) to keep the custard texture and flavor balanced. Instant espresso powder is the easiest way to get bold coffee flavor without extra liquid.
How long should I chill the crème brûlée?
Chill at least 3 hours; overnight (6–12 hours) is ideal. Full chilling firms the custard and gives a clean, satisfying crack when you caramelize the sugar.
Why did my custard crack or become grainy?
Cracking or graininess usually comes from overheating — either boiling the cream or baking at too high a temperature. Temper the eggs carefully, keep the cream below boiling, and bake in a water bath at a low temp. Straining the custard before baking also helps ensure smooth texture.
Can I make these ahead and freeze them?
You can make and freeze uncaramelized custards (covered) for up to 1 month. Thaw in the refrigerator overnight, then torch or broil the sugar right before serving. Note: freezing may slightly alter texture compared to fresh-chilled custard.
For more dessert ideas, see our collection at MadeForRecipes desserts or read technique tips at Serious Eats.